
LiveTheVanLife • Vanagon ownership guides
Vanagon Suspension Restoration: Bushings, Ball Joints and Steering Components
A Vanagon should feel settled, predictable and connected to the road. Understanding the parts that locate its wheels is the first step toward bringing that feeling back.
By LiveTheVanLife Restorations · October 22, 2026 · Approximately 12 minutes
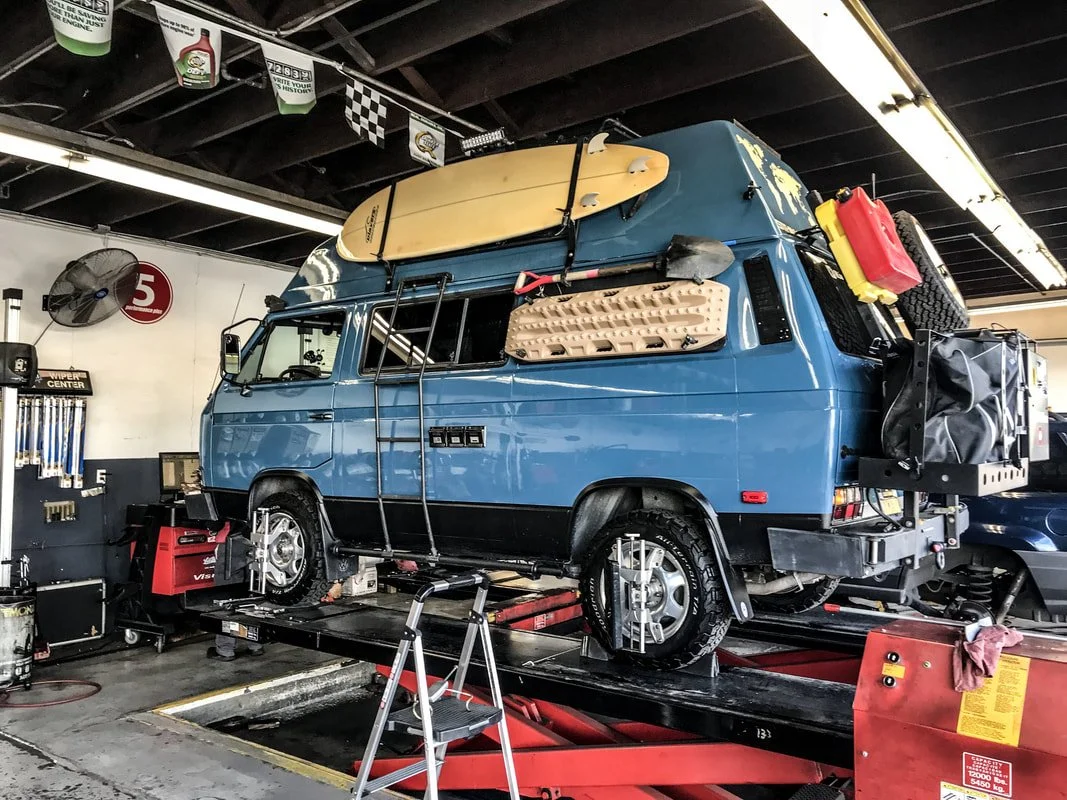
Old suspension rarely wears out in one convenient place. Rubber changes with time, joints develop clearance, corrosion attacks mounts and sleeves, and previous repairs can leave a mixture of parts underneath. Several small problems can combine into a van that needs constant correction at the steering wheel.
The answer is a systematic inspection, a repair plan based on what is actually worn, and an alignment after the relevant work. New shocks alone cannot locate a wheel that is moving on damaged bushings. An alignment cannot hold if the components defining those angles are loose.
This guide explains the systems on the Volkswagen T3, called Vanagon in North America and often T25 in Britain. It is an owner’s guide to diagnosis and restoration planning. Use the correct workshop manual and the component manufacturer’s instructions for lifting, joint testing, assembly and torque values.
01 / Read the symptoms
“That’s just how an old van drives” is not a diagnosis.
A tall camper responds to wind, road crown, tire choice and load distribution. But a sudden change, a developing clunk or noticeably vague steering deserves investigation. Start by recording when it happens: cold or warm, loaded or empty, braking or accelerating, one bump or a certain road speed.
| What you notice | What should be checked | What it does not prove |
|---|---|---|
| Wandering or repeated steering corrections | Tires and pressures, alignment, rack mounts, tie rods, arm bushings and rear wheel location | That the steering rack itself needs replacement |
| A clunk over bumps or as loads change | Ball joints, control-arm and radius-rod bushings, anti-roll-bar links, shock mounts and loose hardware | Which individual component is making the noise |
| Pulling under braking | Brakes and tires as well as suspension movement and alignment | That this is only a suspension fault |
| Shimmy at a particular speed | Tire condition, wheel balance and runout, bearings and steering/suspension play | That balancing alone will fix it |
| Uneven or feathered tire wear | Inflation, loading, toe and camber, worn joints and bent or corroded components | A single reliable diagnosis from the tread pattern |
Stop driving if control is compromised. A sudden major increase in steering play, a visibly displaced wheel, a loose steering connection, a fractured suspension part or a joint at risk of separation calls for recovery and inspection. Do not road-test a known dangerous fault.
For clunks, stiffness and drifting associated with ball-joint wear, see MOOG’s symptoms overview. These are warning signs, not a substitute for checking the actual joint.
02 / The rubber that locates the wheels
Bushings allow movement. They also limit it.
A bushing provides a controlled connection between a suspension component and its mounting point. Depending on the design, motion comes from rubber flexing or from a purpose-built bearing surface. The aim is to allow suspension travel without letting the arm wander around under braking, cornering or road impacts.
Age, repeated loading, heat, contamination and corrosion can leave rubber cracked, separated from its sleeve, distorted or missing. Fine surface checking is different from a torn-through bushing or substantial uncontrolled movement. A photograph is useful for documenting condition, but an inspection needs to establish how the part behaves under the appropriate load.
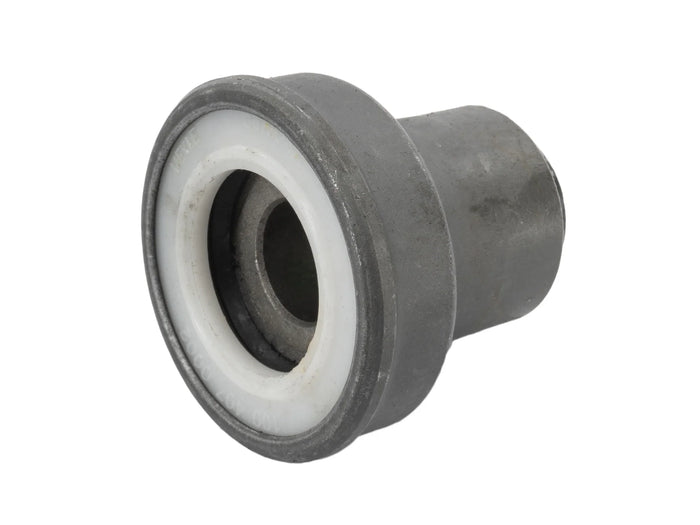
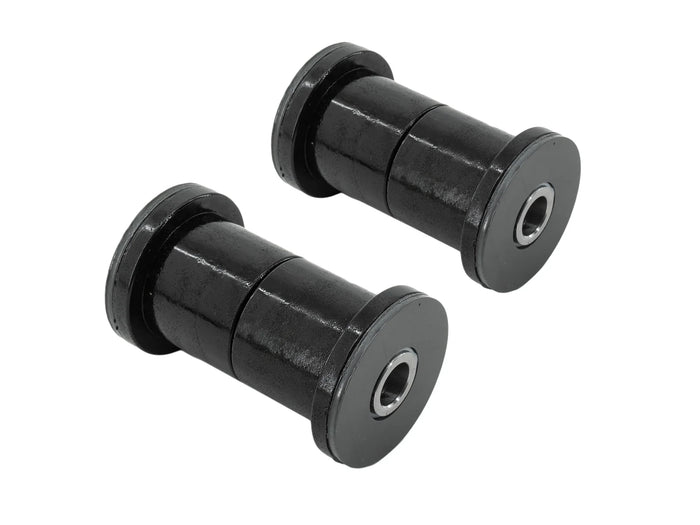
Upper and lower control-arm bushings
The front control arms guide the wheel through its travel. Their inner pivots need sound bushings, secure mountings and correct hardware. Inspect the arms and their mounting structure as well as the replaceable rubber. A new bushing cannot compensate for a damaged bore, bent arm or deteriorated body attachment.
Keep track of adjustment hardware and washers during disassembly. The 2WD front suspension schematic is useful for identifying the components; use the separate Syncro schematic for that layout. Neither replaces model-specific service instructions.
Radius-rod bushings: look past the rubber
The radius rod helps control fore-and-aft wheel location. Its bushings, sleeve, washers and mounting point work together. Deterioration can allow movement as braking and road loads change. The metal hidden through the bushing area needs inspection too: damaged sleeves, corroded rods, worn mounting holes or distorted washers can undermine a repair that otherwise looks new.
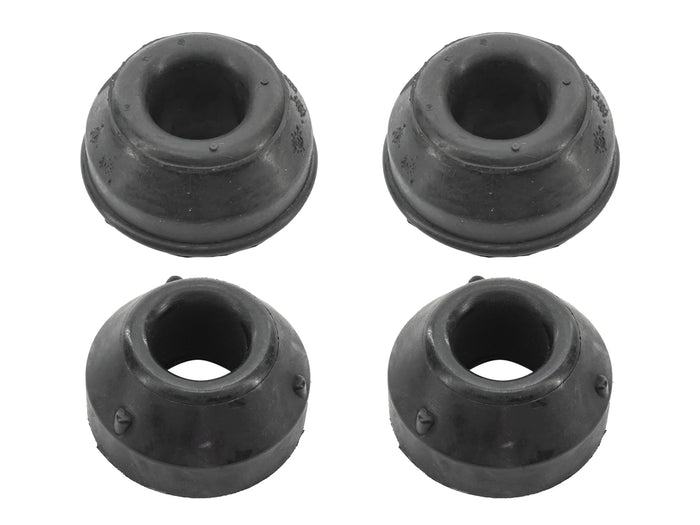
Identify the actual control-arm and radius-rod arrangement before ordering. For example, GoWesty’s 2WD replacement rod has specific early-model control-arm fit notes and points to a separate Syncro version. Model year alone is especially unreliable on vans with decades of swapped parts.
Anti-roll-bar bushings and links
The front anti-roll bar connects the sides of the suspension to resist body roll. Its body mounts, links and link bushings should be checked for deterioration, looseness and damage. Measure the fitted bar when selecting diameter-specific bushings; an upgraded bar may no longer match the original specification. A stiffer bar is a handling change, not a repair for worn ball joints.
Rubber or polyurethane?
Good-quality original-style rubber is a sensible choice when restoring an everyday touring van. Polyurethane can offer firmer location in some applications, but the complete design matters more than its color or material label. Consider noise and vibration, articulation, sleeve fit, lubrication requirements and replacement support.
Do not apply one installation rule to every aftermarket bushing. GoWesty’s lower-arm kit, for example, separates polyurethane mounting material from a PTFE/stainless sliding interface and specifies a no-grease arrangement. Other kits have different requirements. Follow the instructions for the exact part fitted.
03 / Small joints, important consequences
Ball joints let the wheel steer and the suspension move.
Upper and lower ball joints connect the front wheel carrier to the suspension arms while allowing angular movement. Wear inside the joint introduces clearance. A joint may also bind, and a damaged dust boot can admit water and grit.
Inspect boot condition, attachment security and joint movement. A good-looking boot does not prove the internal bearing is healthy. Conversely, replacing a split boot does not repair a joint already worn or contaminated.
Checking wheel play is only a starting point. Movement can come from wheel bearings, tie rods or other connections. A technician needs to locate it at the component and use the correct loaded or unloaded inspection method and service limits.
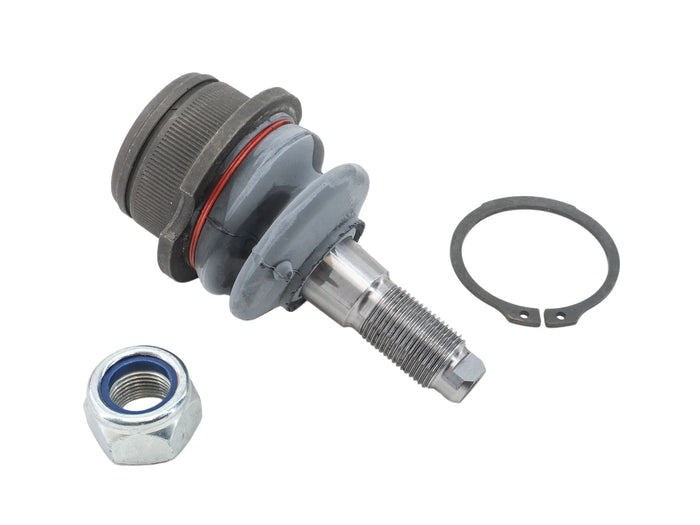
Replacement quality includes the installation
Correct fit, adequate tooling and undamaged mounting surfaces matter as much as the box the joint came in. Press work requires suitable supports and adapters so force goes through the intended surfaces. Retainers and locking hardware must match the applicable procedure. Do not improvise spring restraint or support a van on a jack alone.
Assess both sides, but let condition, history and the chosen restoration scope determine the replacement list. A recently fitted, verified healthy joint is different from an undocumented decades-old one. If an aftermarket joint is adjustable or serviceable, retain its instructions and maintenance requirements with the van’s records.
Compare the component with the relevant Vanagon lower-ball-joint listing and fit notes, then confirm the installation against the correct manual. Generic internet torque numbers are not an adequate substitute.
04 / Follow the movement
Check steering from the wheel in your hands to the wheels on the road.
The steering system is a chain of connections. A small amount of unwanted movement at several points can add up to a noticeable delay. A useful workshop inspection watches the components while an assistant applies small steering inputs, using a safe setup and keeping hands clear of moving parts.
Tie rods and their joints
Tie rods transmit movement from the rack to the steering arms. Check the inner and outer joints, protective boots, adjusters and locking hardware. Replacing an outer end without checking the inner joint can leave the original complaint partly unresolved.

Rack mounts, boots and the rack itself
The rack housing needs secure mounting. Deteriorated mounts can allow the housing to move before the wheels respond. Inspect the mounts and their hardware before blaming internal rack wear. Rack bellows protect the mechanism and inner joints; splits and loose clamps need attention.
On power-steering vans, also investigate leaks, hydraulic hoses, pump operation and the correct fluid specification. Fluid collected inside a rack boot warrants investigation of the rack seals. Hydraulic assistance does not eliminate mechanical play elsewhere.
Shaft joints, couplings and steering damper
Inspect the steering shafts, universal joints and flexible couplings fitted to the van for looseness, cracking or binding. Manual- and power-steering arrangements differ. Where a steering damper is fitted, check its condition and attachments; replacing it cannot cure a loose tie rod or damaged bushing.
GoWesty’s steering schematic identifies the rack, mounts, tie rods and bellows, with separate rack listings for assisted and unassisted steering.
05 / The rear matters too
A steering complaint can begin behind the driver.
The rear semi-trailing arms locate the rear wheels. Their pivot bushings and mounting points belong in a complete chassis inspection. Excessive movement or incorrect rear alignment can make the van feel unsettled even when the front parts are sound.
Inspect the trailing arms, especially corrosion-prone areas and spring seats, along with body mounts, pivot hardware, spring pads, dampers and damper mounts. Separate cosmetic surface rust from serious section loss or structural damage. Seized pivot bolts and corroded mounts can add substantial work to an apparently simple bushing job.
Rear wheel bearings, tires and CV joints should be checked as adjacent systems. They can produce noises or vibration, but a CV-joint repair and a suspension-bushing repair solve different problems. Springs support load and set ride height; dampers control oscillation. Neither restores a worn trailing-arm pivot.
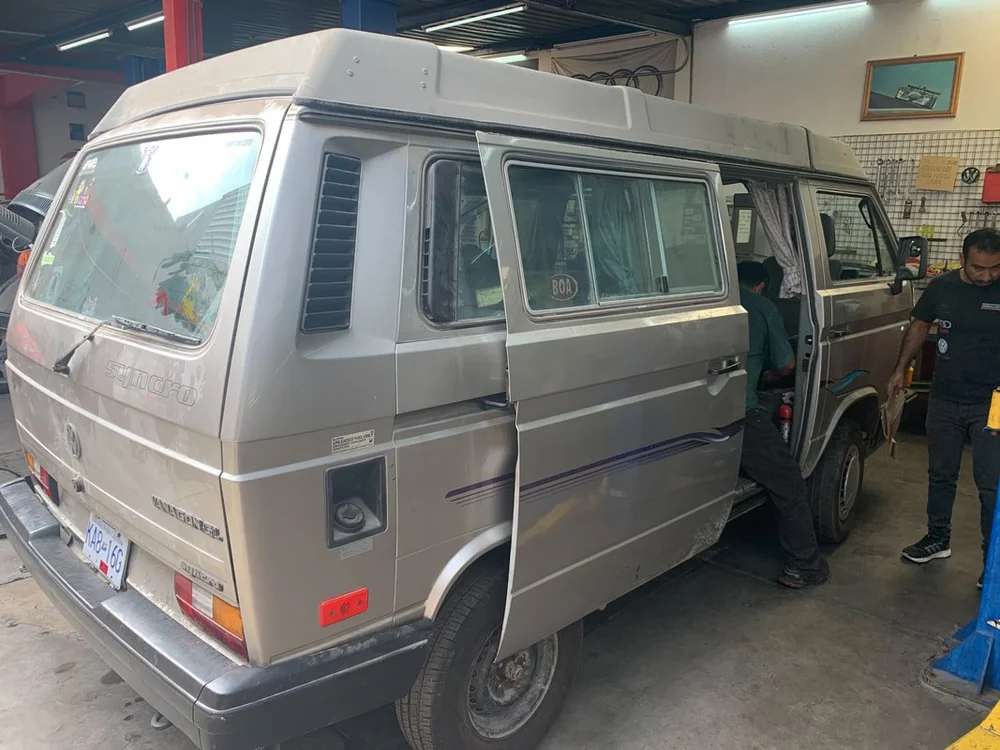
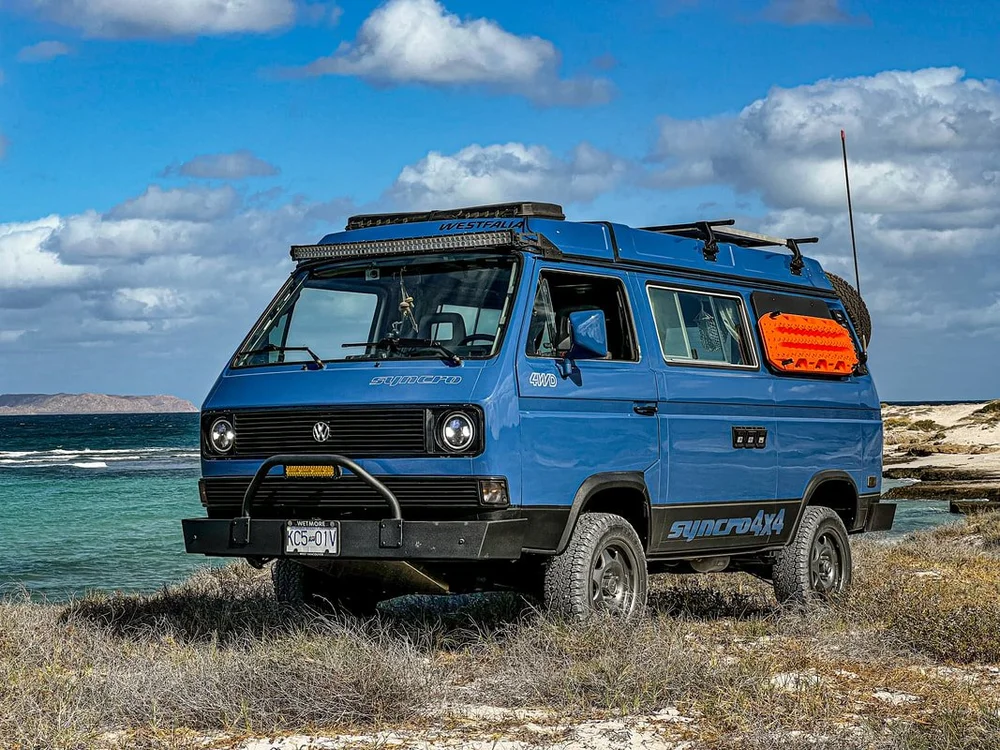
Miki’s build documents original-style rubber suspension bushings, while Penny’s records a different mix of bushings, springs and dampers. These are examples of complete vehicle choices, not universal shopping lists. The correct combination depends on the van’s condition, load and intended use.
06 / Turn findings into a plan
Restore the foundation before choosing upgrades.
- Establish the baseline. Record tire size, condition and pressure, fitted suspension, ride height, steering type, travel load and the owner’s symptoms. Road-test only if safe.
- Inspect front and rear. Locate actual play, binding, leaks and structural damage. Photograph defects and document which components are still serviceable.
- Identify parts before ordering. Confirm 2WD or Syncro, early or later control-arm details, existing modifications and the complete hardware required.
- Group overlapping work. If arms are coming out, assess their bushings, joints and mounting hardware together. Include related boots or damaged fasteners where needed, rather than paying repeatedly for the same access.
- Assemble to the correct procedure. Use the specified tools, retainers, lubrication and torque sequence. For bonded-rubber pivots, the prescribed normal ride position matters at final tightening.
- Set geometry and verify. Complete a four-wheel alignment assessment after the relevant repairs, check clearances and road behavior, and retain the results.
Why ride position matters: clamping a bonded-rubber pivot with the suspension hanging can leave the rubber twisted when the van returns to its normal position. MOOG explains this preload problem. Apply the Vanagon service procedure and the exact bushing manufacturer’s instructions; freely rotating aftermarket designs may work differently.
What should an estimate include?
Ask for separate lines for inspection, parts, removal and installation, any pressing or machining, corrosion repairs, alignment and final verification. Include freight and taxes where applicable. A box of bushings is not a complete suspension-restoration price.
Agree how the shop will handle discoveries such as a seized bolt, damaged arm or corroded mounting point. Prioritize unsafe joints, loose steering connections and structural defects first. Comfort upgrades can follow after a sound baseline has been established.
Syncro, lifted vans and heavily loaded campers
A Syncro has additional front driveline hardware and different front suspension packaging. Lifted vans also need suspension travel, joint articulation, brake-hose length, tire clearance and CV operating angles assessed. A spacer that changes stance can create issues elsewhere.
Choose springs and damping for actual operating weight and use, while respecting the vehicle’s load limits. Taller or stiffer is not automatically better for a touring camper. Our 2WD versus Syncro guide explains the wider ownership differences.
07 / Finish the job
Alignment is the final adjustment, not the first repair.
Camber is wheel lean viewed from the front. Caster describes the steering axis viewed from the side. Toe describes whether the wheels point toward or away from one another when viewed from above. All require stable mechanical connections to remain meaningful on the road.
Request a before-and-after alignment printout and have the shop assess the rear axle as well as the front. Use the correct specification and preparation for the van’s configuration. If an angle cannot be brought into range, investigate ride height, seized adjustments, worn or bent components and mounting damage rather than accepting a steering wheel that merely looks straight.
The final check should address the original symptoms, steering return, noise and clearance through the relevant operating range. Follow any specified bedding-in, fastener recheck or lubrication schedule from the parts manufacturer or workshop. Keep the parts list, alignment sheet and dated photographs with the maintenance history.
08 / Common owner questions
Before you order parts.
Will new shocks fix wandering?
Only if damping is a meaningful part of the problem. Shocks cannot remove play in ball joints, tie rods, rack mounts or arm bushings. Inspect tires and alignment as part of the same diagnosis.
Should every bushing be replaced at once?
Not automatically. A comprehensive restoration may justify renewing aged parts together, particularly where labor overlaps. A targeted repair can be appropriate when the remaining parts have a known history and pass inspection.
Is polyurethane always an upgrade?
No. Material, hardness, bearing design, fit and maintenance requirements all matter. Choose for the application and desired ride, and follow the manufacturer’s instructions.
Can I align the van before replacing worn joints?
Measurements can help diagnosis, but final alignment should follow repairs that affect wheel location. Loose parts can prevent the setting from remaining stable.
Does low mileage mean the rubber is still good?
No. Time, exposure and storage conditions matter too. Inspect condition rather than relying on the odometer.
Are 2WD and Syncro suspension parts interchangeable?
Some parts are shared; others differ. Confirm the exact component, fitted arms and any conversions. A listing that says “Vanagon” is not enough to establish every fitment detail.
LiveTheVanLife • La Paz, Baja California Sur
Plan the work around your van.
Send us the model year, 2WD or Syncro configuration, current symptoms, known modifications and the work you have in mind. We can discuss how suspension and steering fit into your wider restoration plan.
Sources and further reading
Technical references checked October 22, 2026. Supplier listings identify components and examples of design differences; they do not establish the condition of your vehicle or replace workshop instructions.
- GoWesty: 2WD suspension schematic, Syncro suspension schematic and steering schematic.
- GoWesty: lower control-arm bushing design, radius-rod fit notes, lower ball joint and tie rod assembly.
- MOOG: ball-joint symptoms and bushing tightening position bulletin.
- Our Syncro reference library, Vanagon buyer’s guide, Penny build and Miki build.
Van photographs: LiveTheVanLife. Component photographs are served from GoWesty and linked to their original listings; rights remain with their respective owners. They show representative new parts, not defects diagnosed on a customer’s van. All four explanatory diagrams are original and are not assembly or measurement drawings.
