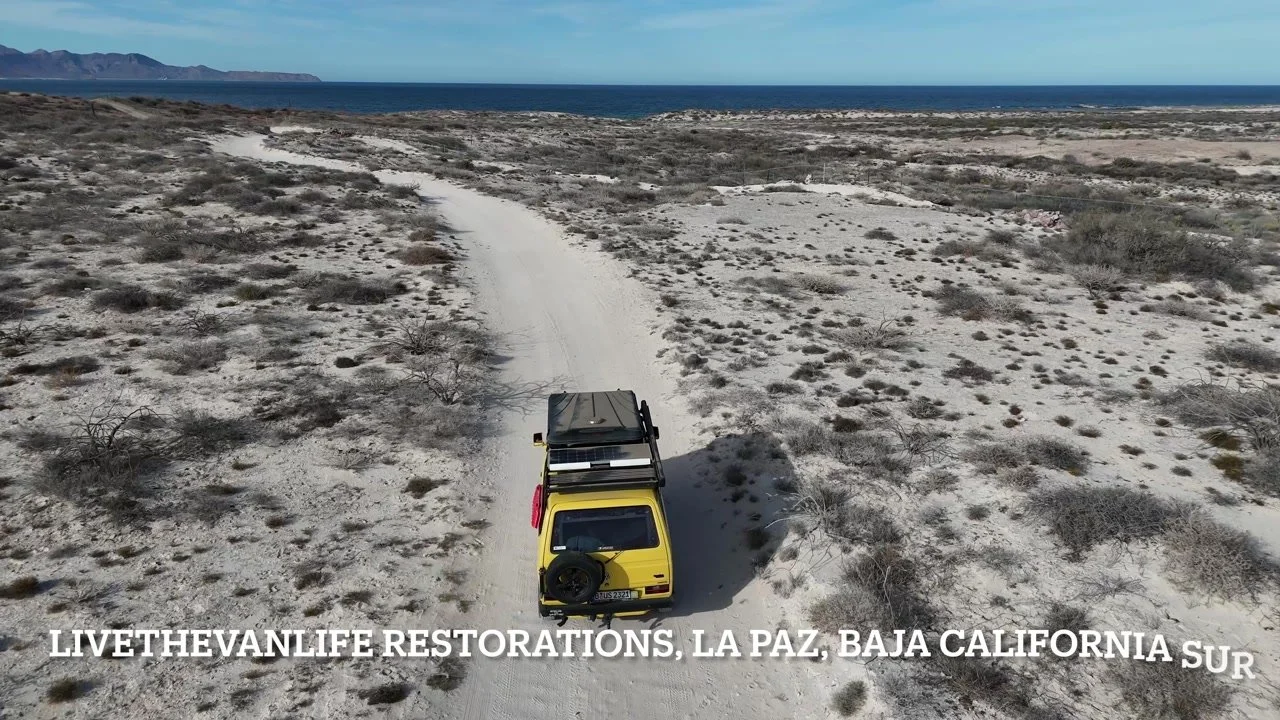
LiveTheVanLife Restorations · La Paz, Mexico
Paint & bodywork.
A fresh start.
Thoughtful restoration for classic Volkswagen vans. Proper preparation, careful metalwork, and a finish made for the next chapter of your travels.
You know what your van means to you. We help you plan what comes next.
From worn paint and familiar dents to a more extensive restoration, our La Paz workshop brings paint, bodywork, mechanical repairs, and upholstery together. Start here to understand the work, the budget, and the decisions that shape your project.
01 / Understand the investment
A clear starting point.
A scope built around your van.
From US$9,995
Basic exterior paint and bodywork, retaining the original color.
Our starting package includes exterior disassembly and a complete exterior refinish using quality PPG paint systems. The actual work depends on the condition of your van and what we agree to restore.
The starting price is not an all-inclusive restoration price. Your written estimate should make the included work, additional parts, and any separately priced services clear.
Photos are the beginning of an estimate.
They help us understand your goals and visible condition. Rust beneath seals, old filler, and earlier repairs may only become clear during inspection or disassembly. If additional work is needed, we explain the finding, discuss its effect on cost and timing, and seek your authorization. Tell us about a firm budget limit before approving changes.
The basic paint and bodywork starting price is in U.S. dollars. Use your current written estimate for the exact scope and price of your project.
02 / The people behind the work
Built on living with these vans.
Our experience started with building, driving, and maintaining our own Volkswagens. That history informs how we approach a client's van: the details that wear out, the areas that deserve closer inspection, and the choices that make sense for a vehicle you actually use.
You communicate directly with Shane, the owner, in English. Paint and bodywork can be coordinated with mechanical repairs and upholstery, so decisions about the whole van are considered together.
The labor-cost advantages of working in Mexico can make a substantial restoration more accessible. Imported parts, materials, transport, and travel still belong in your budget. When comparing estimates, compare the preparation, repairs, parts, and finishing work included.
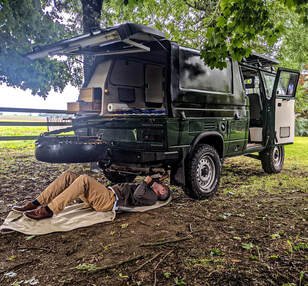
See the work for yourself
Our builds have appeared in magazines and films and earned recognition at Syncrofest. Explore the Penny build, media features, and customer experiences to get a feel for our work.
A workshop powered by Baja sunshine
Our workshop operates off grid with solar power and battery storage. It is part of how we have built our life and business here. Take a look around the workshop and see the solar information on our homepage.
03 / What goes into the finish
The work starts long before the paint.
A lasting result depends on what happens underneath it. We remove the exterior fittings, glass, and doors so the preparation and repairs can reach the areas they conceal.
Agree on the project
Review your goals, visible condition, original color or color change, repair priorities, and related work. Establish the scope and identify parts or decisions that need attention.
Disassemble and inspect
Remove exterior accessories, including lights, grilles, handles, trim, antennas, and hookups. Remove the glass and doors, including the sliding door and rear hatch, as applicable to the vehicle. Inspect newly exposed areas before moving on.
Repair the metal and body
Cut out corrosion where replacement is required and weld in new metal. Repair dents, straighten panels, and address previous repairs within the agreed scope. Extensive fabrication or panel replacement adds work.
Prepare and prime
Prepare the surfaces for the selected paint system, refine the contours, and apply the appropriate primers. The condition of the existing coatings determines how much stripping is needed.
Apply the chosen paint system
Refinish the agreed surfaces using PPG products suited to the approved color and finish. Some solid colors use a single-stage system; other approved colors may use basecoat and clearcoat.
Finish, reassemble, and review
Refine the finish as appropriate, reinstall the glass and fittings with the required replacement seals, and complete adjustments. At handover, review the work and paint-care instructions, including when protective products can be applied.
Watch the work: disassembly and clearcoat
Older parts need individual attention. Decades-old seals, trim, clips, and fittings may be brittle or damaged. Replacement items are part of planning a proper reassembly and can affect the budget and sequence of work.
04 / Look beneath the surface
Rust repair is part of the conversation from day one.
Paint can make a van look different. Repairing the underlying problems is what gives that work a sound foundation. Please show us bubbling paint, damaged seams, rusty window surrounds, and any areas repaired in the past.
Do not assume that a small mark tells the whole story. We may need to remove glass, trim, coatings, or earlier repairs to assess the full extent of the work. Photos help us plan; they cannot reveal every hidden condition.
Will the entire van be stripped to bare metal?
Not necessarily. Sound, compatible coatings may remain, while corrosion, failing paint, contamination, or poor previous repairs may need local or more extensive stripping. We choose preparation around the actual condition and the paint system being used.
Is body filler part of a proper repair?
Suitable filler can refine contours after the underlying metalwork. It does not replace necessary metal repairs or resolve corrosion. If a progress photograph raises a question, ask us to explain what you are seeing and the stage of the repair.
05 / Make it your van
Choose the color.
Define how far it goes.
Keep the original color
This is the basis of our starting exterior package. It helps existing paint in areas outside the work blend with the refinished exterior. Tell us about previous resprays and provide a paint code if you have one.
Plan a color change
Agree on door jambs, openings, interior panels, and any two-tone details before quoting. Reaching areas behind cabinetry, trim, or equipment takes additional disassembly. Original color can remain in areas outside the agreed scope.
A digital preview is a design tool.
Use the Virtual Workshop to explore a look, then send us your design. Screens, cameras, lighting, and paint effects change how a color appears. Confirm the actual paint code or physical reference, finish, and painted areas with us in writing before work begins.
We focus on proven finishes suited to vans that are driven, traveled in, and used outdoors. We do not offer or recommend exotic paint finishes. If you have a metallic or pearl color in mind, send the code and a physical reference so we can confirm suitability and cost.
06 / Plan with room to breathe
Good planning includes flexibility.
For initial planning, allow roughly six months and retain flexibility for longer.
We do not offer a standard or guaranteed completion date. This allowance helps you arrange life without your van; it is not a promised turnaround, a maximum duration, or a pickup date. Complex projects may take substantially longer.
A paint and bodywork project can involve around 400–500 labor hours, with more for extensive repairs. Hands-on hours do not translate directly into calendar time.
Keep decisions in writing
Use WhatsApp for brief coordination and photos, and email for detailed questions, work requests, parts lists, and approvals. Useful updates explain what is complete, what comes next, and which parts or decisions are outstanding.
Plan drop-off and pickup separately
Drop-off is an intake appointment, not a promise that every stage begins that day. We recommend returning home or continuing your travels independently, then coming back once readiness and a pickup appointment are confirmed.
Discuss essential deadlines before booking. Wait for confirmed readiness before making non-refundable collection plans. A freshly painted van may still need reassembly, testing, and adjustments. Read the restoration FAQs for more detail.
07 / Real vans, new chapters
See what a restoration can become.
These projects show the potential of a tired van with a considered plan. Each build had its own condition, specification, and budget; the photographs are examples of our work, not a list of everything included in the starting package.
Penny · 1982 Vanagon Westfalia
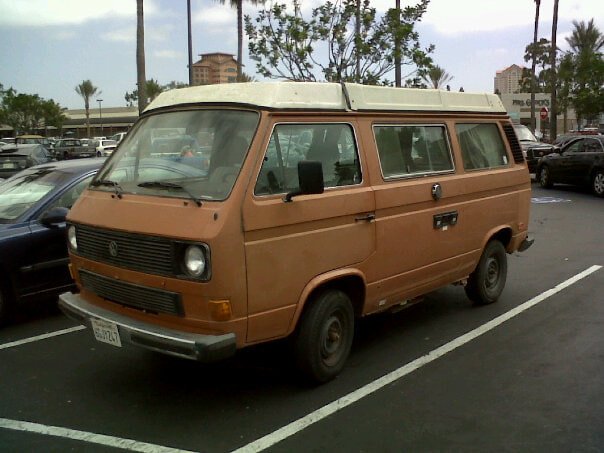
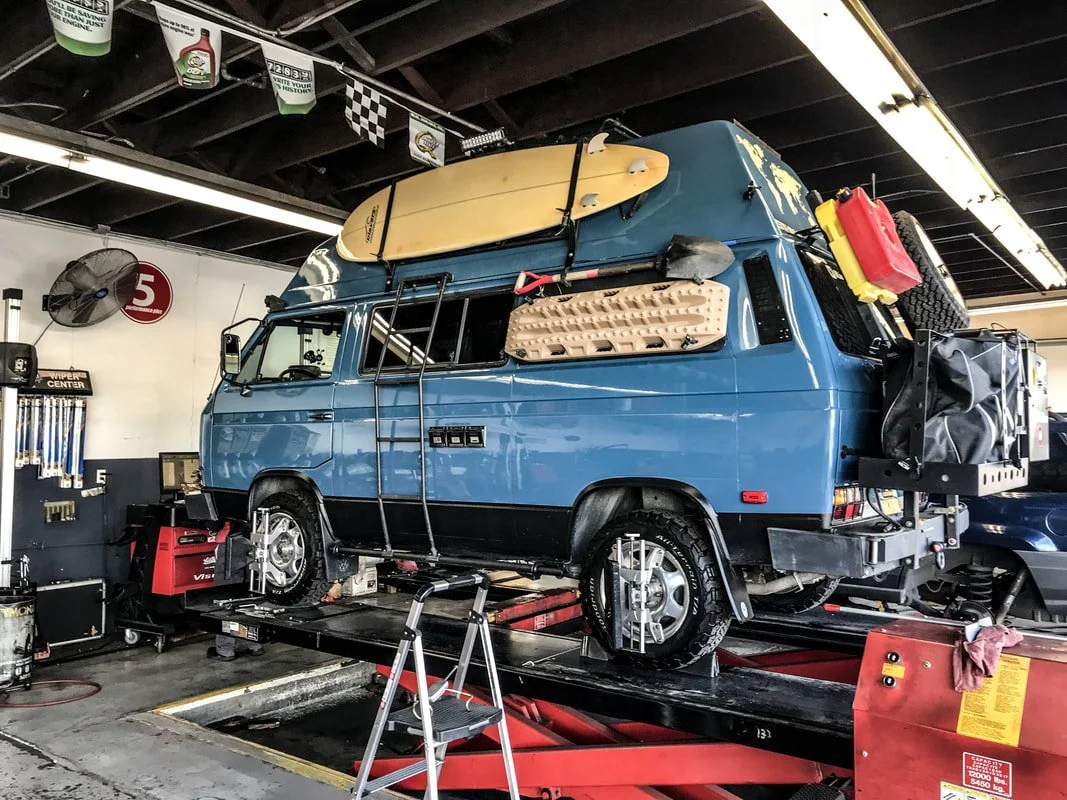
Read Penny’s full build story →
A Westfalia Syncro, brought back to life
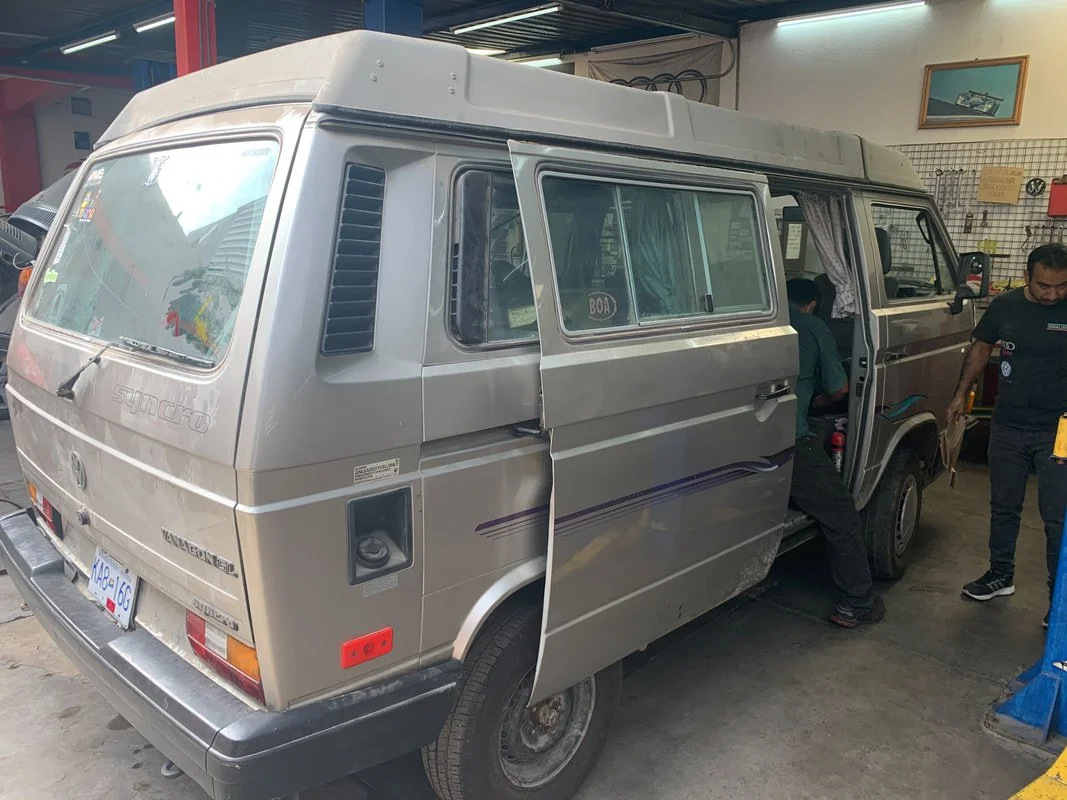
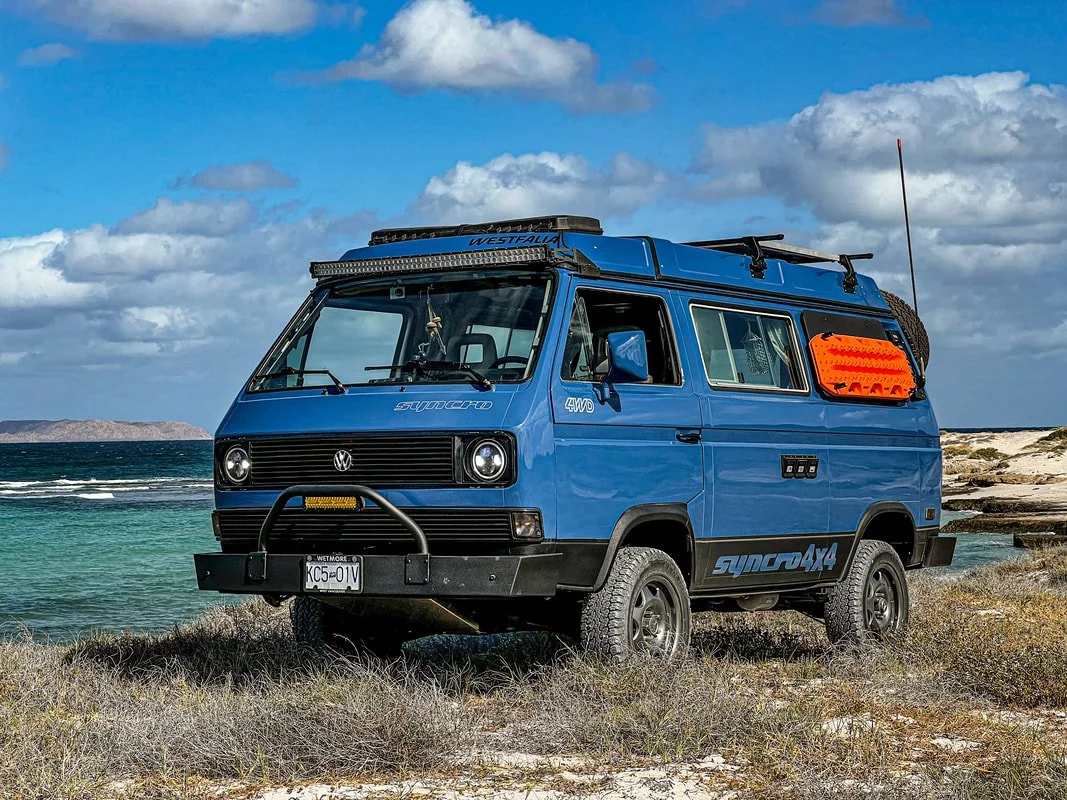
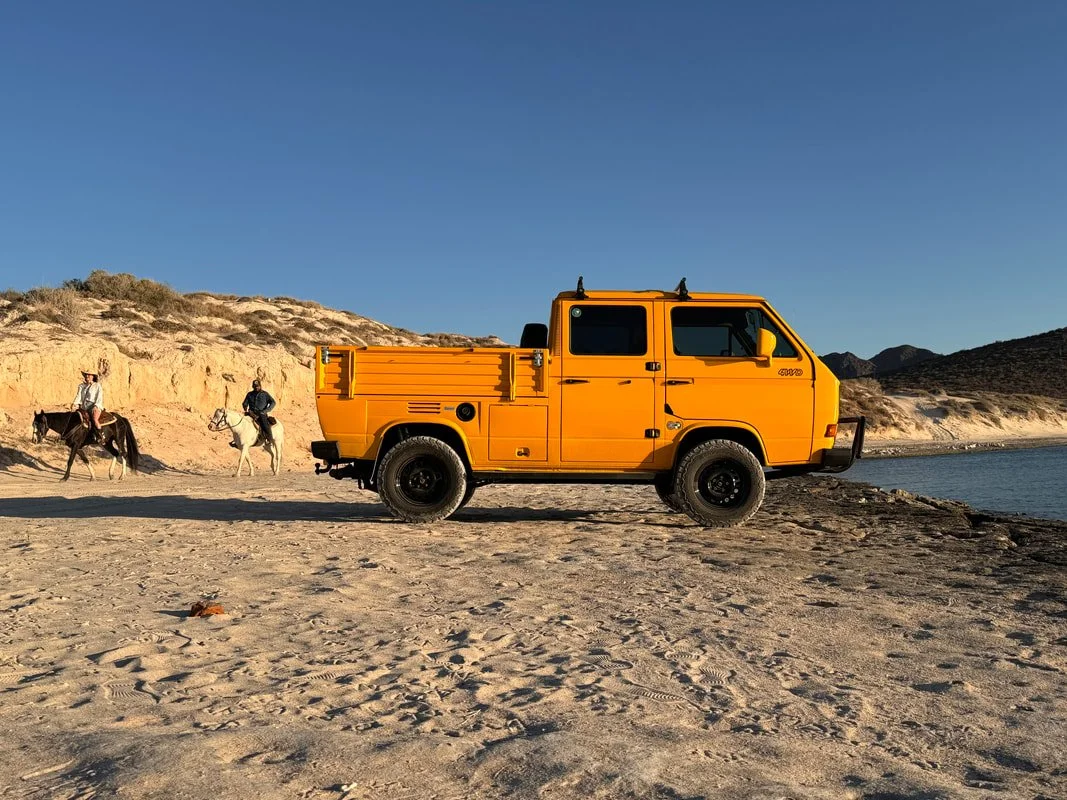
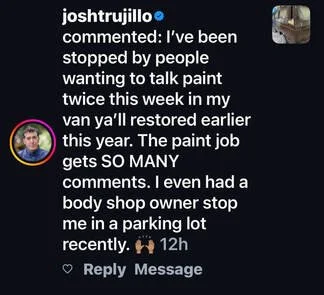
A customer’s words
08 / Think about the whole van
Make related decisions while the van is apart.
Seals, trim, interior work, and selected upgrades can influence the order of a restoration. Share your wider wish list early so we can discuss priorities, compatibility, and what belongs in this project.
Mechanical & interior work
Discuss brakes, suspension, stock engine replacement, transmission work, and other mechanical needs alongside the bodywork. A repaint does not renew components outside the agreed scope.
Interior upholstery work is tailored to your van, with materials and the exact scope agreed for your project. Explore mechanical services and upholstery and interiors.
Comfort & useful upgrades
Options include pop-top tent installation, audio, locks and alarms, lighting, solar and battery systems, ceramic window tint, and Westfalia-specific improvements. Ask us to confirm suitable parts and installation scope before you buy.
The Optional Extras page explains available services. The inspiration guide helps you explore ideas; it is not a promise that we supply or install every item shown.
Additional services to consider
Discuss suitable parts, materials, and installation work with us. These services are additional to the basic exterior package and are quoted for your van.
- Lower quarter-panel and rocker bed liner.
- Vanagon window seals.
- Full vehicle undercoating.
- Complete ceramic window tint.
- Pop-top tent installation.
- Power door locks and alarm system.
For pop-top tents, confirm the tent and installation work separately. Seal requirements depend on your van. Ask us to confirm repair needs and preparation before choosing protective coatings.
09 / Make a plan for La Paz
Bring your van. Leave room for an adventure.
Drive down or arrange transport
Many clients make a Baja road trip part of the experience. Have the van assessed for roadworthiness before a long drive and arrange your drop-off with us in advance.
If driving is unsuitable, review our Tijuana–La Paz vehicle transport guide. Coordinate the full route, handover, and current quote before booking a carrier.
For flights, compare La Paz and Los Cabos arrivals, including the onward journey. Explore our Baja travel guide when planning your visit.
Prepare for handover
Remove valuables, food, and nonessential belongings. Keep work areas clear and provide a written inventory of everything left with the van, including spare parts and items inside cabinets or bags.
At pickup, review the agreed work, ask about paint care, and allow time for local driving before a long journey. Confirm when washing, wax, coatings, decals, or a cover can safely be used with your paint system.
Need storage? Arrange it in advance and check the current storage options and rates. Availability and any battery care or other services need to be agreed separately.
Workshop visits are by appointment. We are in La Paz, Baja California Sur, near the airport. Contact us for an appointment and directions before coming over.
10 / Your first conversation
Help us understand your van.
You do not need a finished build specification to get started. A clear picture of the vehicle and your priorities makes the first conversation much more useful.
Tell us the essentials
- Year, model, camper or roof type, and current location.
- Known rust, damage, earlier repairs, and modifications.
- Original color or a planned color change.
- Your main goals, budget priorities, and optional wish list.
- Preferred drop-off timing and any essential deadlines.
- Whether you plan to drive or use transport.
Choose useful photographs
Upload at least one clear overview photo of your van. You can add up to five overview images, plus optional close-ups of rust, damage, or areas you would like us to review. Wider views of all sides help tell the story.
Describe known concerns and your main priorities in the form. We may ask for further pictures by email and arrange a brief video call to get to know you and discuss the project.
Please read this page and the full restoration FAQs before submitting.
Send your inquiry
Share your van, photographs, and goals through the form.
Discuss the scope
We review the information, ask follow-up questions, and discuss the work.
Agree on next steps
Review your estimate, booking arrangements, and preparation before delivery.
An inquiry starts the conversation. It does not reserve a workshop slot or confirm a completion date. For booking and payment arrangements, see the FAQs and the information provided for your project.
Request your free estimate.
Tell us about your van, your priorities, and your plans. Upload at least one overview photo; additional overview images and damage close-ups are welcome. Not sure about a detail? Tell us what you know, and we can work through the rest together.
Please review the basic paint price, project planning information, and restoration FAQs before submitting. If you have trouble with the form, email shane@livethevanlife.com.
