LiveTheVanLife · On the road
Which spare parts should I travel with?
A practical packing guide for VW Vanagon, T3 and T25 owners, with extra advice for Baja and Mexico.
Workshop advice · Updated September 2026
Carry the parts that can turn a breakdown into a repair. Space is precious in a van. I would rather use it for a small, carefully chosen kit than a collection of parts that may never fit or be needed.
This is a question I’m often asked by people driving down Baja to visit us in La Paz. Even if you do not do your own repairs, having the correct part can help a capable local mechanic get you moving and reduce the wait for a delivery.
Build your kit around your van and your trip
The main list is aimed at petrol Vanagons with a stock-style waterboxer and Bosch fuel injection. Early air-cooled vans, diesels, European engine variants and conversions need different parts. Confirm the engine, injection system, transmission, model year and any modifications before ordering.
Every trip
Start with the core spares, a working spare tire, basic tools, the correct fluids and a way to get help.
Long or remote trips
Add harder-to-source cooling, ignition and drivetrain parts. Distance from assistance matters as much as trip length.
Your specific setup
Check the extras for your engine, automatic transmission, Syncro drivetrain and camper equipment.
Maintenance comes first
Have a VW specialist inspect the van well before departure, leaving time for repairs and a loaded test drive. Check fuel hoses and connections, belts, cooling hoses and pipes, fan operation, brakes, tires including the spare, wheel bearings, CV boots and bolts, charging, grounds and warning lights. Resolve leaks, intermittent faults and overdue servicing before you leave.
If a part is already questionable, replace it before the trip. A spare is a backup for a healthy van, not a reason to keep driving with a known problem.
The spares I would prioritize
Buy good-quality parts, verify fitment and label them. Where practical, have electrical spares checked before relying on them.
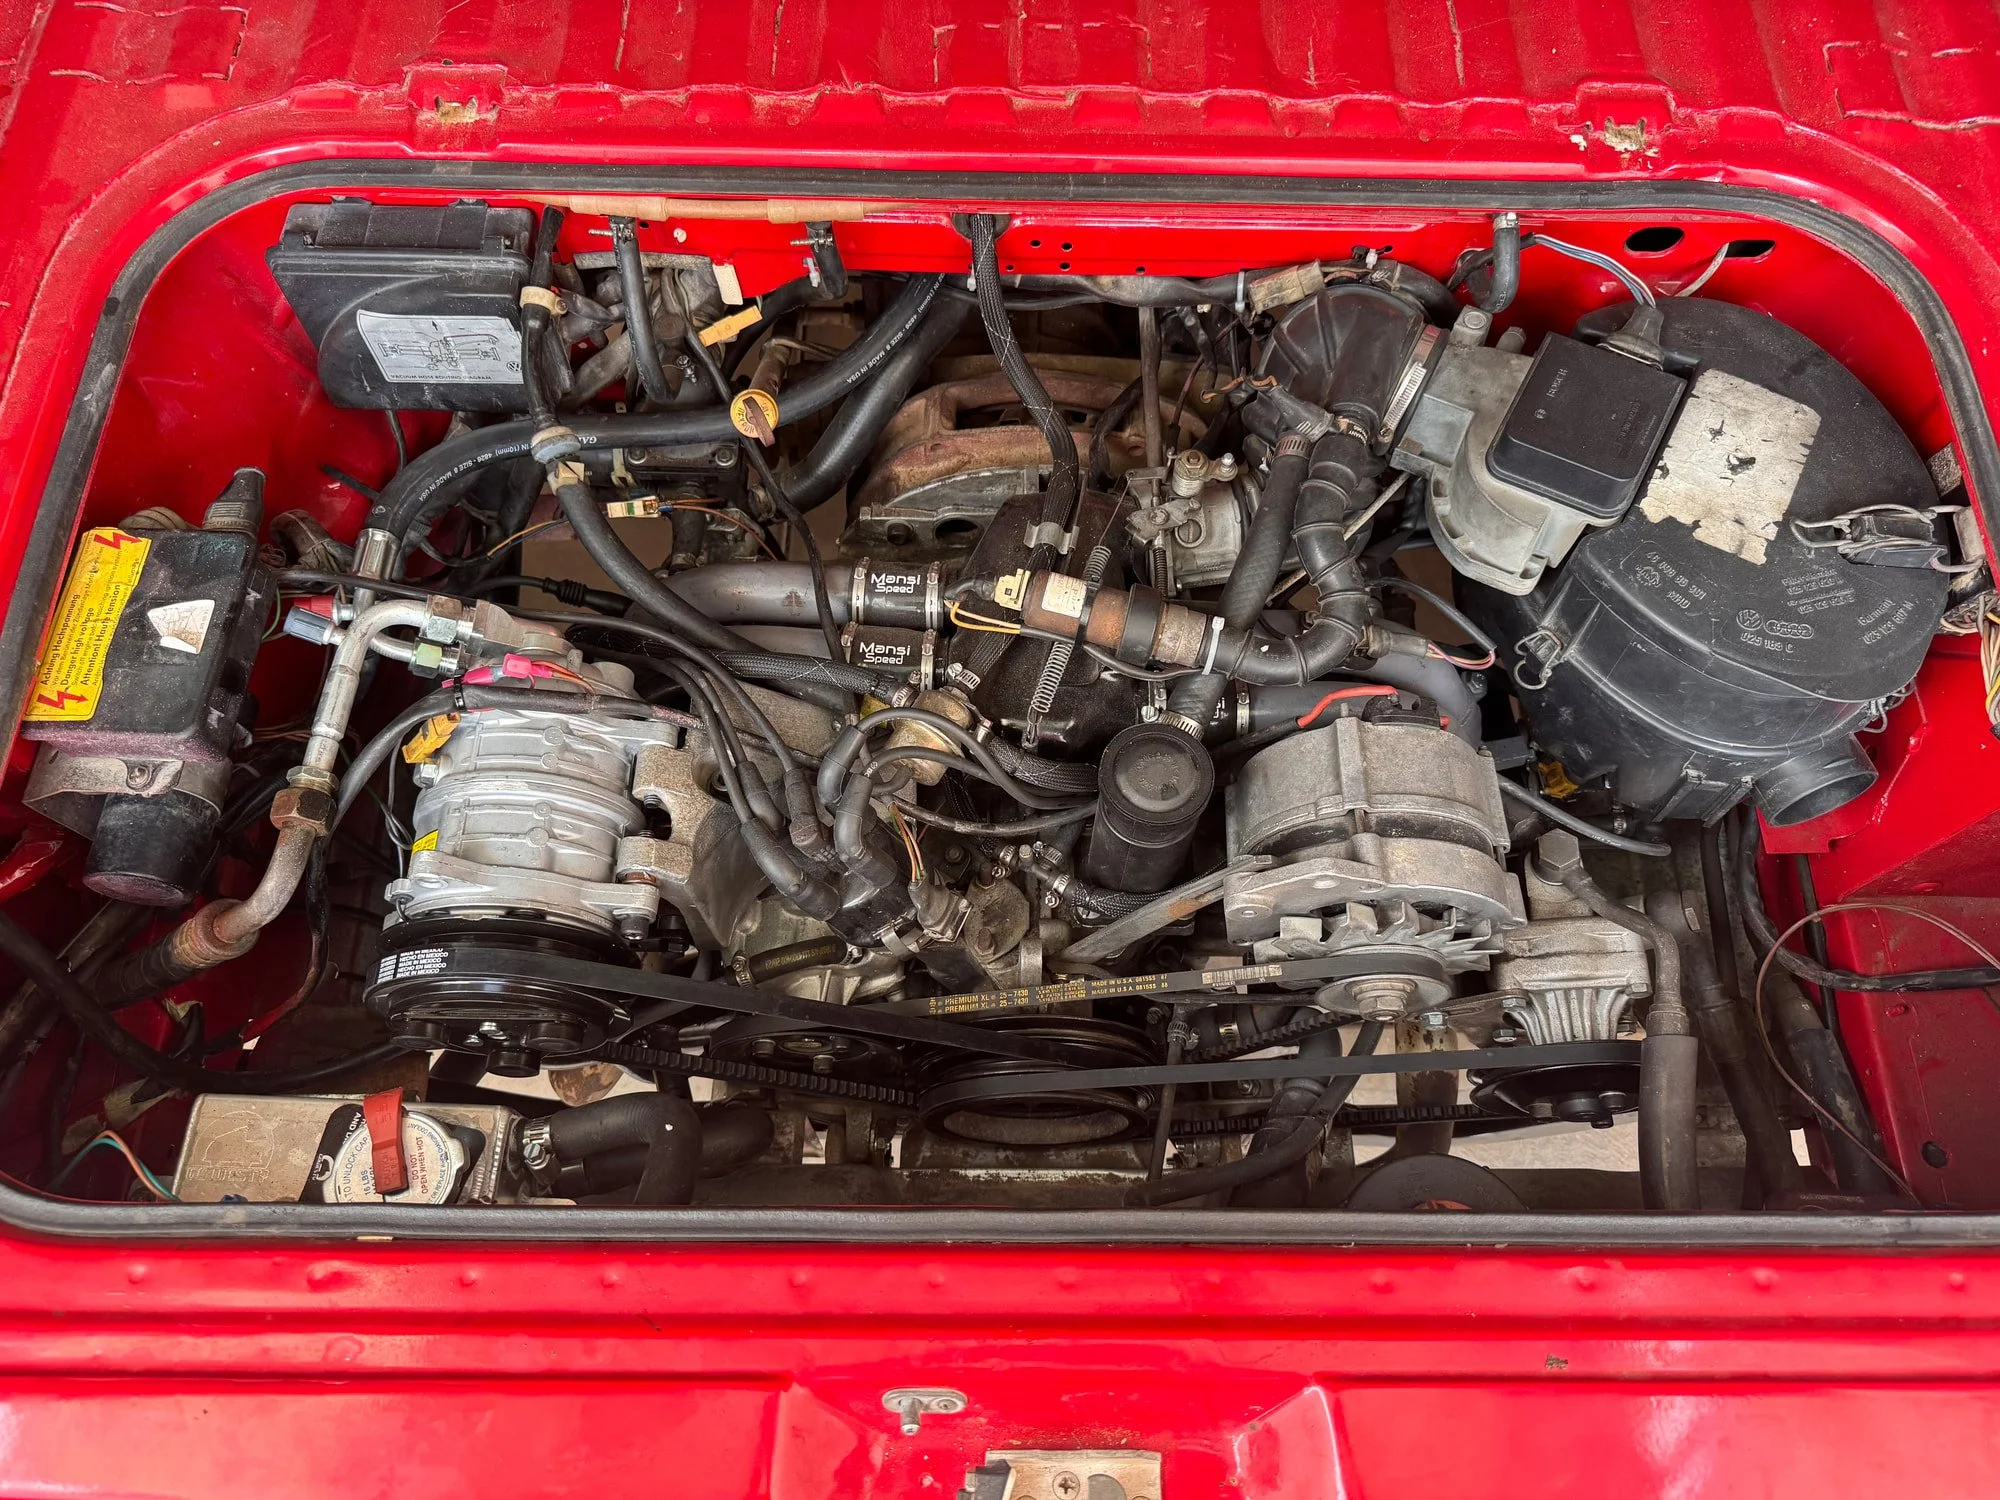
- A complete set of the correct drive belts. Check the markings and installed pulley arrangement. On a stock waterboxer, the alternator belt also drives the water pump. Know which tools are needed to reach and tension each belt.
- The electrical portion of the ignition switch. Small and useful to carry. A no-start still needs diagnosis; batteries, connections, starters and wiring can cause similar symptoms.
- The correct fuel-pump relay and fuel-injection power relay. Match the pin layout and function to the actual wiring. Similar-looking relays are not automatically interchangeable; some later vans use a different injection relay. Read about the relay differences.
- Ignition coil, distributor cap and rotor, where fitted. Match the ignition system, connectors and coil specification. Converted engines and aftermarket injection systems may use different components.
- A suitable fuel pump and fuel filter. Confirm pressure, flow, hose connections and electrical terminals. Include any required fittings, seals and mounting pieces. A noisy pump can also indicate a supply restriction, so diagnose the cause before fitting the spare.
- Fuel hose and proper fuel-injection clamps. Carry short lengths in the sizes your van uses. The hose must suit the fuel, operating pressure and temperature; ordinary vacuum or coolant hose is not a substitute. Fuel-system work belongs with someone equipped to handle pressurized fuel safely.
- Fuses that match your actual fuse panels. Include the correct physical types and ratings for vehicle and camper circuits, plus any separate cooling-fan fuse. Earlier and later fuse panels differ. Never install a higher-rated fuse to stop it blowing.
- A compact electrical repair kit. Automotive wire in suitable gauges, insulated terminals, quality crimp connectors, heat-shrink, electrical tape and a few cable ties. Include a little vacuum hose and matching connectors for your engine’s small vacuum lines.
- A verified spare tire and the means to fit it. Check condition, pressure, load rating, wheel clearance and wheel-bolt or nut compatibility. Pack the correct wheel-lock key if fitted. A spare that does not fit is just luggage.
A charging light can also be a cooling warning. If the battery/alternator light comes on while driving a stock waterboxer, stop safely and switch off to check the belt. Do not assume you can drive until the battery goes flat or wait for the temperature gauge to rise. Other engines have different belt arrangements. Why the charging light matters.
Worth carrying for Baja and remote travel
- Cooling-system spares for water-cooled vans: a correct, tested pressure cap for the pressurized expansion tank; selected hoses, connectors and clamps chosen for your actual system; and the appropriate radiator fan switch and seal. The pressure cap is different from the overflow-bottle cap.
- Coolant temperature sensor for the injection system: often called “Temp II” on stock waterboxers, with the correct seal, any required retainer and a sound connector. This is not the same component as the radiator fan switch or dashboard gauge sender.
- Fan relays, fuse and resistor where fitted: identify your fan system first. Not every Vanagon has the same resistor or fan-speed arrangement. Diagnose fan faults properly; do not improvise with paperclips or unfused jumper wires. Compare the factory fan systems.
- A throttle cable and small attachment hardware: match the engine and transmission. Replace a frayed, sticking or unknown-condition cable before departure.
- A CV joint or prepared axle, depending on space and route: match the shaft and joint specification. Include the boot, correct CV grease, clips and fasteners, the exact bolt bit and required torque information. A complete axle can be simpler to exchange, but is heavier and bulkier.
- Selected ignition and service extras: spark plugs, plug leads and an ignition control module if your system uses one; an oil filter and drain-plug sealing washer for a service due on the trip. For extended dusty travel, consider an air filter.
Bulky parts such as a starter, alternator, water pump, clutch hydraulic cylinders or spare ECU are route- and vehicle-dependent choices. Discuss them with your specialist if you will be far from deliveries or competent help. Carrying a component does not make its replacement a roadside job.
Tools, fluids and roadside basics
Tools
- Metric sockets and combination wrenches, including 8, 10, 11, 13, 17 and 19 mm, plus sizes specific to your van.
- Ratchet, extensions, breaker bar, flat and Phillips screwdrivers, pliers, cutters and a proper wire stripper/crimper.
- A multimeter you know how to use, a headlamp, gloves and eye protection. Add suitable jump leads or a charged jump pack rated for your engine, used and stored according to its instructions.
- The correct wheel socket, suitable jack, a stable base and wheel chocks. Know the proper lifting points; never work underneath a van supported only by a jack.
- A tire-pressure gauge, compressor and suitable torque wrench. A puncture kit is supplementary and cannot fix sidewall damage.
Fluids and supplies
- Engine oil: at least 1 quart / about 1 litre, with more based on known consumption and distance between supplies. Use the specification and viscosity appropriate to your engine and climate; 20W-50 is not a universal recommendation.
- Compatible premixed coolant: for water-cooled vans, a gallon / about 4 litres is a useful remote-trip reserve. Match the product already in the system and its specification, not just its color. Do not mix unknown coolant types.
- Other fluids as applicable: the specified ATF/power-steering fluid and a small sealed bottle of correct brake fluid. A brake or clutch fluid leak needs diagnosis, not repeated topping up.
- Funnel, rags, absorbent material, waste bags, assorted suitable clamps and a few correctly sized nuts, bolts and washers.
Keep drinking water separate from workshop supplies. Water alone is an emergency coolant contingency after the engine has cooled and the fault has been addressed; restore the correct coolant mixture and bleed the system properly before normal travel.
People come first. Keep an accessible, suitable fire extinguisher, first-aid kit, reflective warning equipment, charged phone, power bank, drinking water and sun protection. Save offline maps and recovery contacts; consider satellite communication for routes beyond mobile coverage.
What changes for your van?
- Air-cooled petrol: omit water-cooling parts and verify the actual cooling-fan drive and belt arrangement. Select ignition and injection components for that engine.
- Diesel or turbodiesel: use an engine-specific list, including the correct fuel filter and relevant glow-system fuse/relay or fuel shutoff components. Timing-belt condition and service history must be addressed before departure.
- Engine conversions or aftermarket fuel injection: document both the donor engine and conversion hardware. Ask the installer which sensors, relays, belts, hoses and diagnostic tools to carry. A generic OBD-II reader is not a diagnostic solution for a stock Bosch-injected Vanagon.
- Automatic transmission: consider the correct neutral-safety/start-inhibitor switch and specified transmission fluid. Do not bypass the starting interlock as a routine fix.
- Syncro: check axle/CV differences, 14-inch versus factory 16-inch fitment and any upgrades. Keep tire rolling circumferences appropriately matched, including the spare, and have the correct recovery/towing instructions available.
- Westfalia and other campers: pack the correct house-system fuses, water-pump fittings and appliance-specific service items. Prioritize what keeps the vehicle mobile, then what keeps camp comfortable.
Plan around availability, not assumptions
From our experience helping travelers in Mexico, some Mexican-market T2 Combi parts can provide useful cross-references. However, “it fits a Combi” is not proof that it fits your Vanagon. Match part numbers, dimensions, electrical specifications and the exact application before fitting anything, especially ignition, fuel, brake and drivetrain components.
General supplies such as oil, fluids, fuses and grease are usually easier to find in larger towns than specialist Vanagon components. The exact specification, quality or stock you need may still be unavailable. Carry the small, critical, hard-to-source parts with you before heading into remote areas.
Make parts easier to identify
Save clear photos of the installed part, its label, connector and hose fittings. Bring a written parts list and useful Spanish names: fuel pump — bomba de gasolina; ignition coil — bobina de encendido; belt — banda; fuel filter — filtro de gasolina; CV joint — junta homocinética. Use the part number as your main reference.
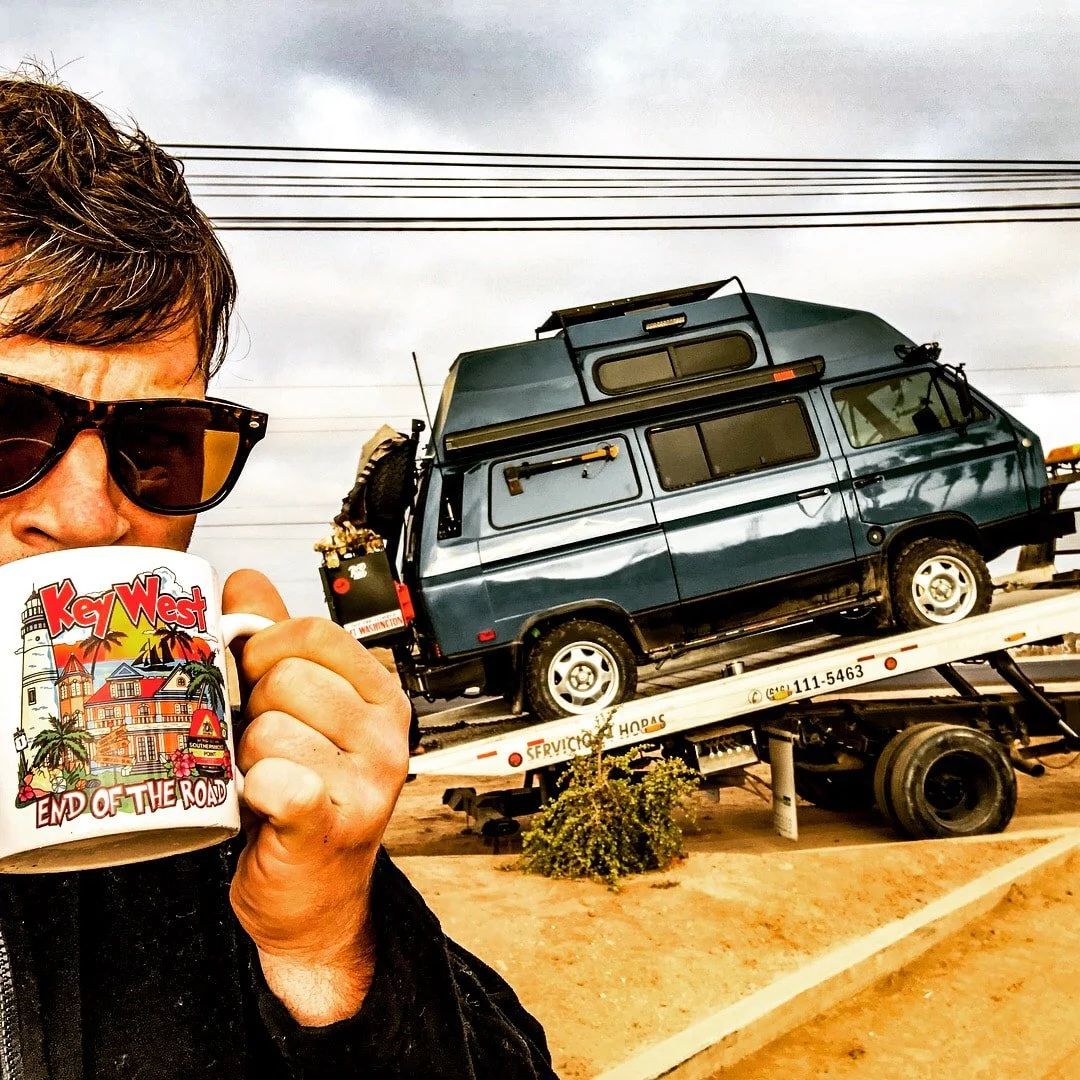
If ordering a replacement, confirm stock, the exact part, delivery address and realistic arrival time before making travel plans around it. For recovery, tell the operator the van’s drivetrain, transmission, loaded weight and modifications; request a suitable flatbed when in doubt.
Pack it so you can find it

A small kit, organized well
Group parts by system in labeled bags or boxes. Keep each part with its seals, clips and fasteners, and protect electrical parts from moisture. Secure heavy items low down and keep tools accessible when the van is fully packed.
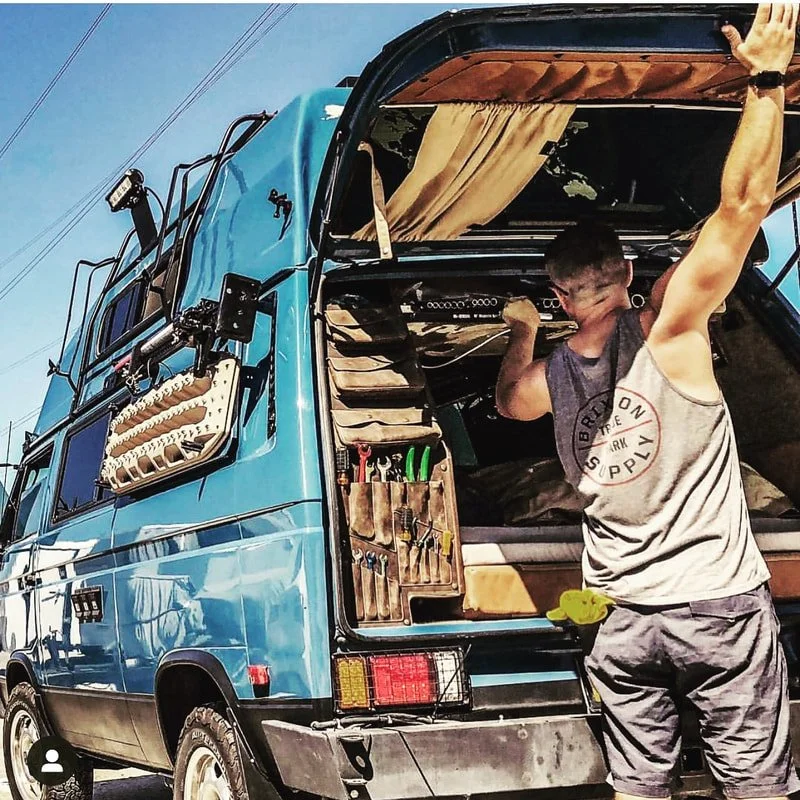
The Westy Bravo tool organizer is one option for making use of the back of a Westfalia wardrobe cabinet. Put fluids and heavy spares in suitably secured storage.
Keep a vehicle information sheet
Record the year, VIN, engine code, injection system, transmission, tire size and pressures, wheel-fastener torque, fluid specifications, belt numbers, relay details and key part numbers. Add conversion details, service records and your specialist’s contact information. Keep a paper copy and an offline copy of the appropriate owner’s manual, wiring diagrams and repair information.
Before departure
- Service and inspection complete; leaks and warning lights investigated.
- Loaded test drive complete; new work rechecked.
- Spare tire fits, is inflated and can be removed from its carrier.
- Spares match the van; tools fit the actual fasteners.
- Oil and coolant specifications recorded; supplies packed securely.
- Offline information, spare key, recovery contacts and communication plan ready.
Each travel day: with the engine cold where appropriate, check fluid levels, look underneath for new leaks, inspect tires and belts, and pay attention to new smells, noises or handling changes. Replenish used spares at the next practical opportunity.
Know when to stop. Oil-pressure warnings, overheating, a missing critical belt, fuel leaks or smell, smoke, loss of braking or unsafe steering require stopping safely and investigating. Switch off the engine when appropriate and arrange help. Never open a hot coolant pressure cap. Keep clear of radiator fans, which can operate with the ignition off.
A few things people ask
Should I carry spares if I’m not a mechanic?
Yes. A clearly labeled, correct part and the right repair information can help a qualified mechanic assist you. Choose the kit with your specialist and leave repairs beyond your ability to someone equipped to do them.
Can I keep the old parts after a service?
Only keep parts that are known to work and are still serviceable. Label them as used and record when they were removed. A worn belt, suspect relay or leaking pump is not a dependable spare.
Should I carry everything on this page?
No. Start with the core kit and tailor it to your actual van, route and access to help. The remote-trip and configuration sections are a discussion list for choosing worthwhile extras.
Where can I find manuals and more technical information?
Explore our T3 Westfalia Library and T3 Syncro Library. Choose references for the correct year, market, engine and equipment, and download what you need before losing connectivity.
Heading down to see us in La Paz?
Tell us your van’s year, engine, transmission and planned route when discussing your visit. Contact LiveTheVanLife with any questions about preparing your van.
This is a packing and preparation guide, not a repair procedure or a guarantee against breakdowns. Follow the correct workshop instructions and the recommendations for the components actually fitted to your van.
Further technical reading: fuel pumps and filter layouts · fuel-injection hose requirements · coolant compatibility and mixing.