LIVE THE VAN LIFE RESTORATIONS
  • Home
  • Van Accessories Shop
  • Van Restoration Services
    • Paint & Bodywork Start Here
    • Upholstery
    • Mechanical
    • Optional Extras
    • Testimonials
  • Baja Westfalia Rentals
  • Guided Baja Van Trip
  • Sell Your Van
  • 3D Printed Parts
  • Tips, Tricks & Advice
    • Advice & Opinion >
      • Love The One You're With, or Why You Should or Should Not Keep Your Vanagon Stock
    • Mods
    • Van Build
    • Does Your Campervan Support Your Health and Wellness?
  • Builds
    • Penny Build
    • Miki Build
  • Get in Touch

Van Build

Go Westy 16" Steel Rims and Tires

1/22/2016

10 Comments

 
Picture

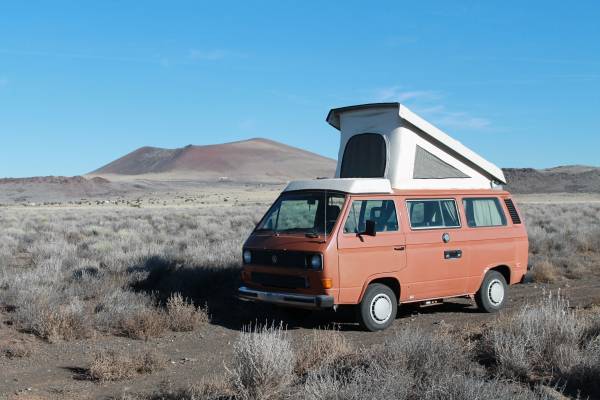
 When I first got my Westy, it came with those awesome factory 14" wheels. If you've had them, or (gulp) still have them, you know that your Westy feels a bit like the girl in this video whenever a truck passes you on the freeway (fast forward to 25 seconds into the video).

Your Westy with 14" Rims are kinda like this chick in her high heels...
One of the first upgrades I did was to toss the 14" rims and tires and upgrade to some fly 15" rims and tires. The jump in driveability, stability, and looks was huge! It felt so much more planted on the freeway, and I wouldn't get blown over 2 lanes when being passed by a Semi (I'd only get blown 1 lane). I picked up the rims for $250 from a guy in San Diego selling them on Craigslist. I had to add new tires ($100 each corner), and have longer studs installed in the back (another $60 for 10 x rear 72mm studs purchased here). Then I had a shop install the studs for me and that ran me another $150. All in I was out over $850! 
Picture
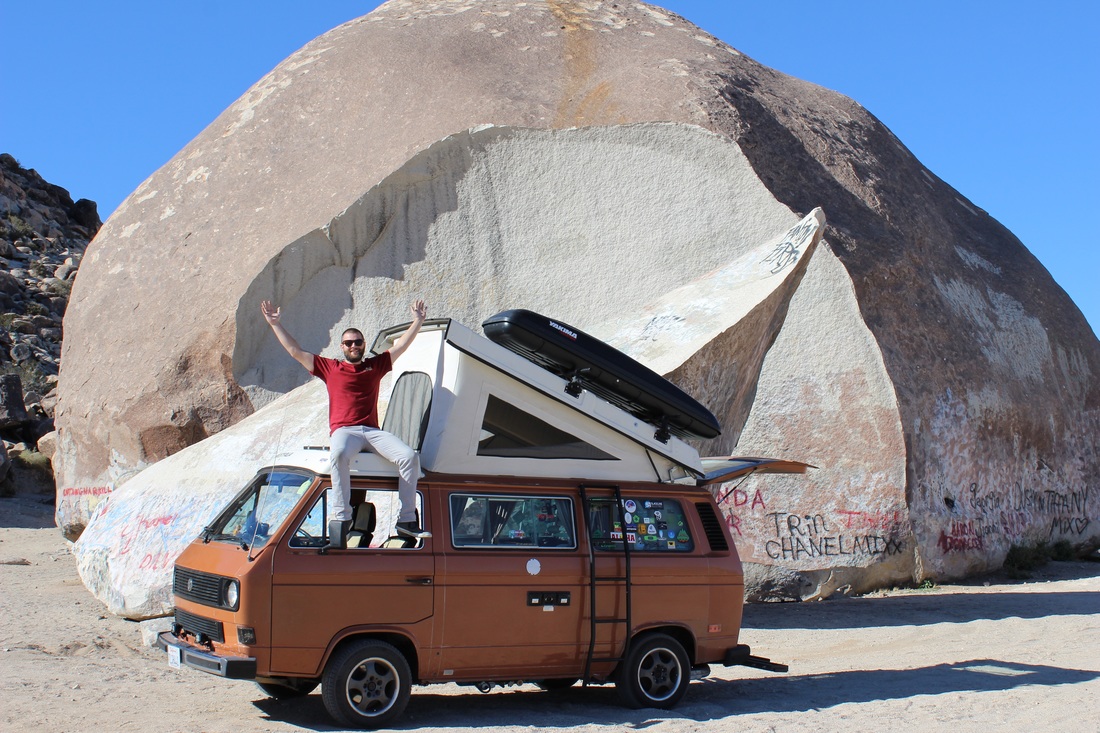
Here's a shot of Penny with her fly 15" wheels

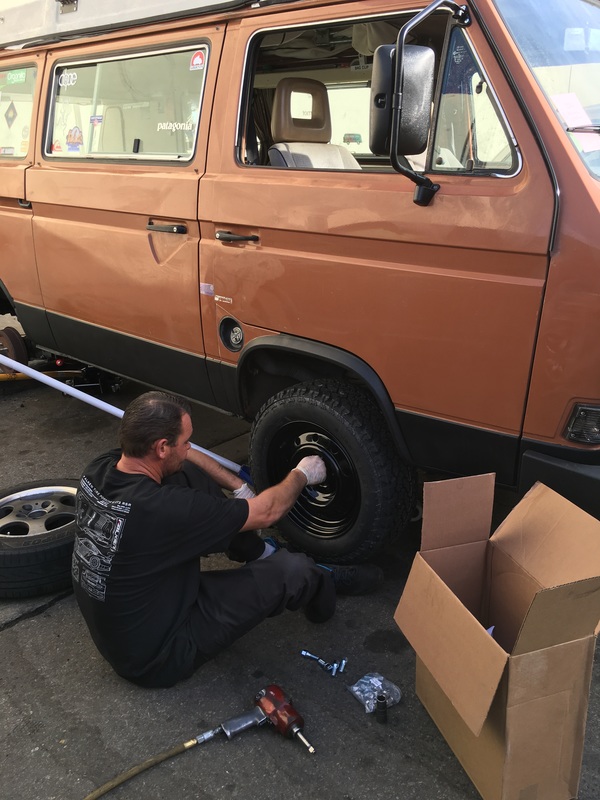
The 15" wheels and tires were great, they were a nice visual upgrade and greatly enhanced the handling. Around November of 2015, I decided that I wanted to build Penny to be able to handle moderate off-road travel which I would encounter on extended overland trips to places such as Alaska, Baja, and eventually a trip to South America. I knew the street tires wouldn't work so they had to go. The 15" rims that I had also wouldn't fit the new look I was going for so I decided to replace them too.

I decided on the 16" Black Steelie rims from GoWesty here for another $500 or so, they weren't cheap. Plus I'd have to buy new tires again. I spent some time researching tires and eventually settled on General Grabber AT2's purchased here. They had the look I was going for and they were well liked by off roaders. They would do well in Snow, Mud, Sand, and well pretty much everything I thought I might encounter. 

When everything arrived I took them to my local tire shop to have them installed. All bolted up they looked awesome! But as I pulled out of the shop I heard frantic cries and saw waving arms behind me. I looked in my side mirror at the tires as I was slowly pulling away and saw a nasty wobble as if the rear wheels were loose. I swung back around and pulled back into the shop where we quickly figured out that the guys at the shop had not removed the two small bolts on the rear brake cover (these were installed at the factory and serve no purpose, they can be removed without consequence). Unfortunately that wobbling action, combined with the nearly 6000lb heft of penny meant that one of my rear studs had snapped. 

Picture
After the broken stud was addressed I took the van down to Baja for a weekend of adventure. I quickly fell in love with the new rim and tire combination. The van now felt like a super sturdy German military vehicle and the wheels looked bad ass! I ended up on some pretty rough dirt roads and combined with recent heavy rains there were lots of deep puddles and mud. The Grabber's lived up to their name and performed flawlessly. On-road the tires are not overly loud and provide a nice ride. I couldn't be happier with the combination. Highly recommended. 
10 Comments

VW Stove Grate Covers

1/20/2016

5 Comments

 
Picture
Ever tried to use a small frying pan on your Westfalia stovetop? What about a small pot or tea kettle? It's mind boggling that the brilliant engineers at Westfalia didn't come up with a better solution themselves. But fear not, there's a product that will fix your wobbly tea kettle woes. A fellow from Canada has designed these handy metal VW logo stove grates that will attach to your stock Westfalia grill. Installation is a snap, I simply popped off my grill, and used pliers to bend the metal tabs around the existing grating. They look cool, they fix a annoyance, and as an added bonus you can make yourself (or your guests) VW logo toast by placing a piece of bread over the grates with the heat on low (using the stove on high will burn your toast to the grate like I did, head slap). Get yours here for only $25 bucks!
 http://www.frankcondelli.com/staging1/store/index.php?route=product/product&product_id=62
5 Comments

    Categories

    All

    Archives

    March 2018
    February 2018
    August 2017
    December 2016
    November 2016
    August 2016
    May 2016
    February 2016
    January 2016

    RSS Feed

© COPYRIGHT 2023  Live The Van Life     ALL RIGHTS RESERVED.
  • Home
  • Van Accessories Shop
  • Van Restoration Services
    • Paint & Bodywork Start Here
    • Upholstery
    • Mechanical
    • Optional Extras
    • Testimonials
  • Baja Westfalia Rentals
  • Guided Baja Van Trip
  • Sell Your Van
  • 3D Printed Parts
  • Tips, Tricks & Advice
    • Advice & Opinion >
      • Love The One You're With, or Why You Should or Should Not Keep Your Vanagon Stock
    • Mods
    • Van Build
    • Does Your Campervan Support Your Health and Wellness?
  • Builds
    • Penny Build
    • Miki Build
  • Get in Touch